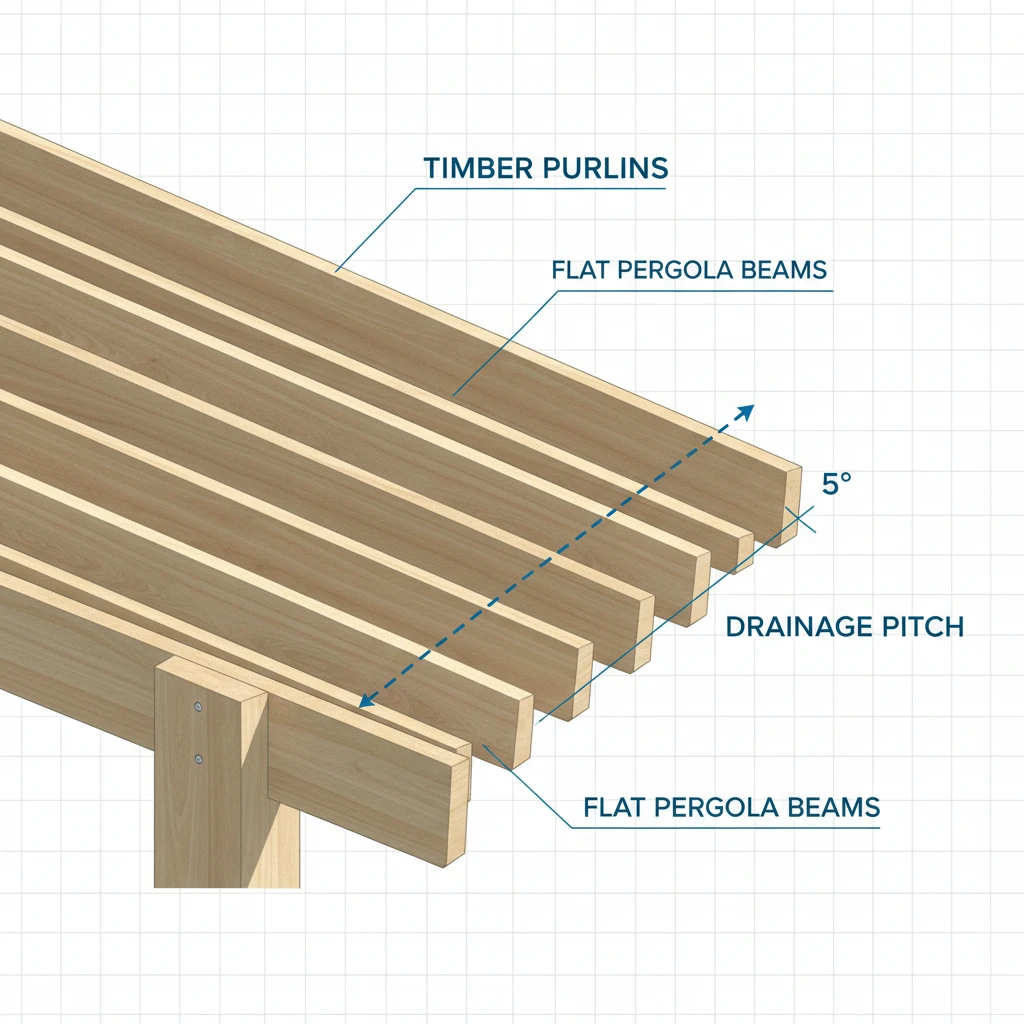
Adding a roof to an existing pergola requires assessing the structure’s load-bearing capacity to ensure it can support materials like polycarbonate or corrugated metal. You must install perpendicular purlins for fastening and establish a minimum 5-degree pitch to ensure rainwater runoff, preventing pooling and structural damage.
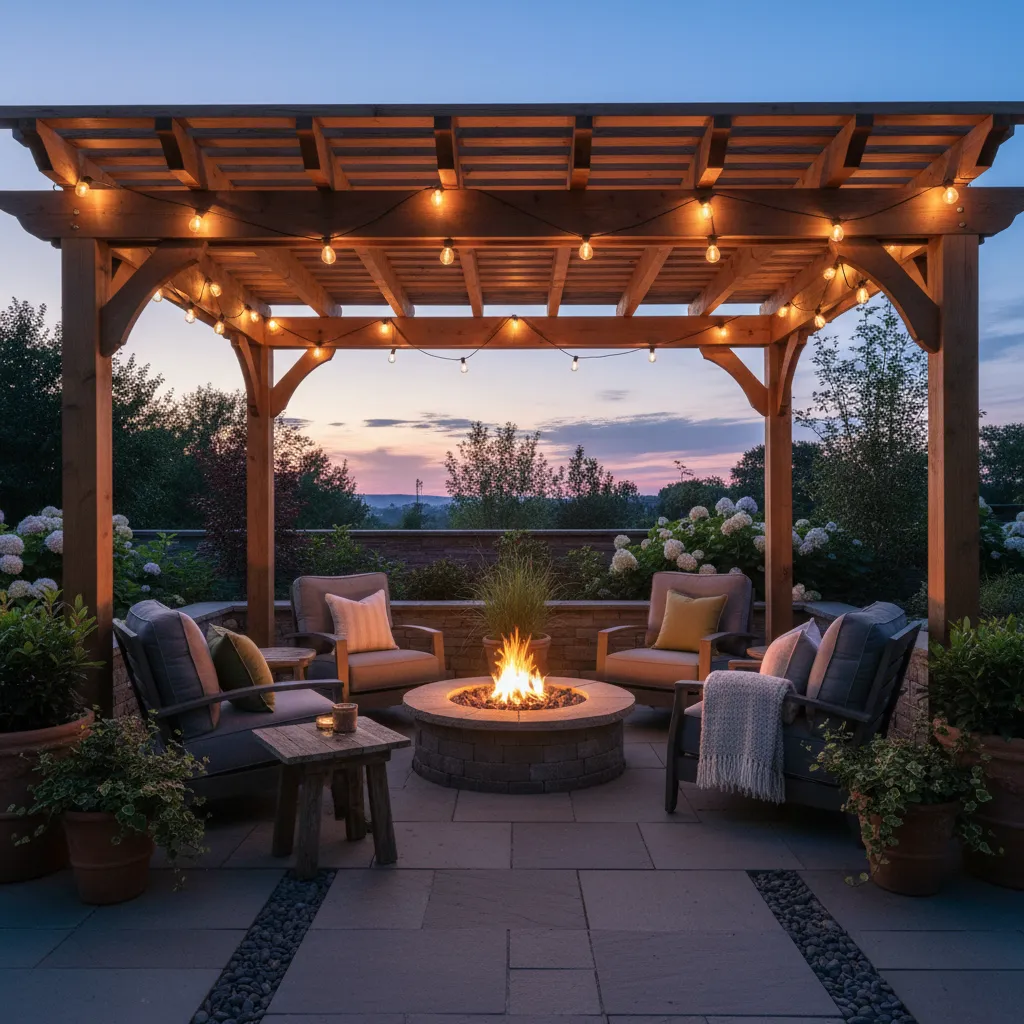
In New Zealand, the concept of “indoor-outdoor flow” is central to our lifestyle. However, our unpredictable weather—ranging from harsh UV rays to sudden downpours—often renders open-top pergolas unusable for large chunks of the year. Retrofitting a roof to your existing pergola is one of the most effective ways to extend your living space and increase the value of your property without the expense of a full renovation.
Whether you are looking to install clear polycarbonate to keep the light in or durable corrugated iron for shade, this guide covers everything required to successfully add a roof to a pergola.
Can You Add a Roof to an Existing Pergola?
Before purchasing a single sheet of roofing, the most critical step is a structural assessment. Most open pergolas were designed only to support their own weight and perhaps the seasonal weight of a vine or creeper. Adding a permanent roof introduces significant new loads that the original posts and beams may not have been engineered to handle.
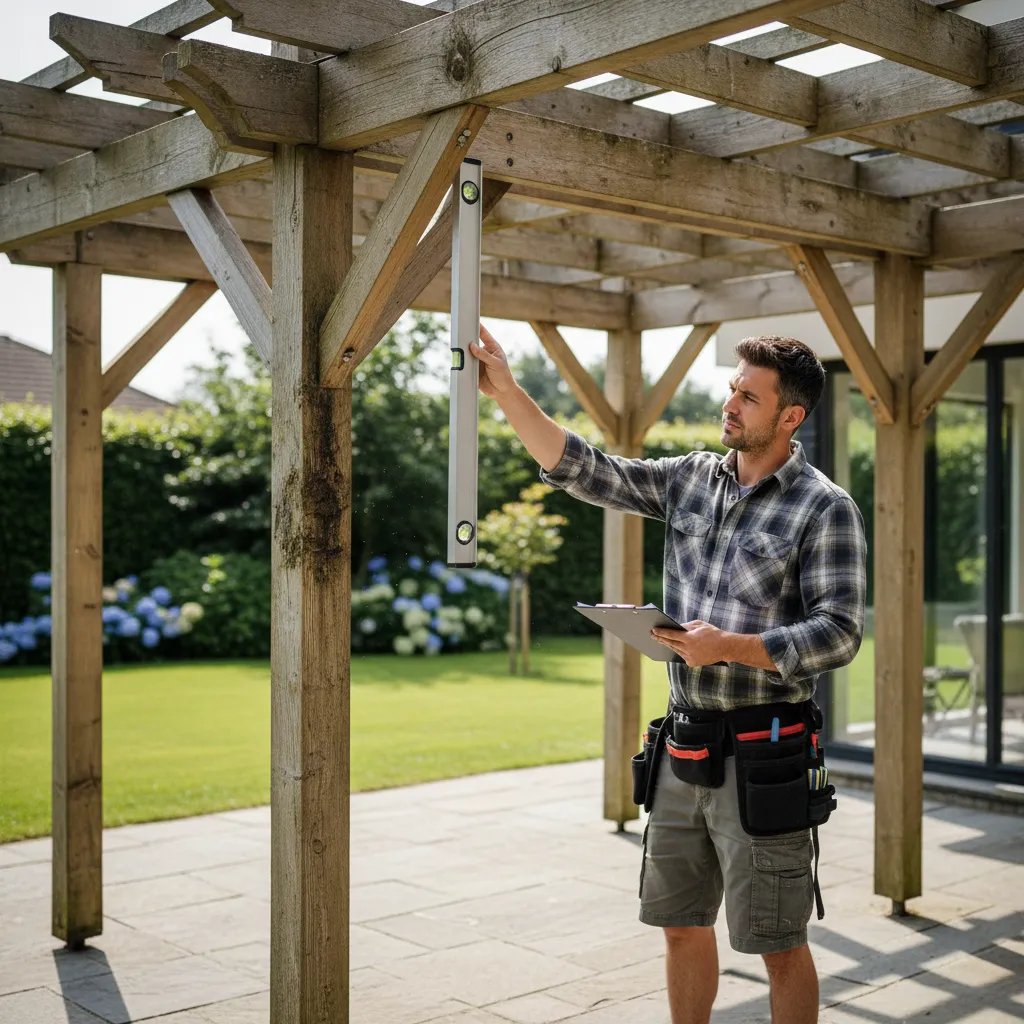
Assessing Load-Bearing Capability
When you add a roof to a pergola, you are adding dead load (the weight of the roofing material and framing) and live load (wind, rain, and occasionally snow in southern NZ regions). A standard 100x100mm timber post might be sufficient for an open trellis, but once you create a solid surface, it acts as a sail in high winds.
Check the following structural elements:
- Post Condition: Ensure there is no rot at the base of the posts. If the timber is compromised, it cannot support a roof.
- Beam Span: Long spans between posts may sag under the weight of roofing. You may need to add intermediate posts or laminate additional timber to existing beams to strengthen them.
- Footings: Roofed structures experience “uplift” during storms. The concrete footings must be heavy and deep enough to keep the pergola anchored to the ground.
Custom Sizing Challenges
Unlike kit-set pergolas, existing structures are rarely perfectly square or standard sizes. Retrofitting often involves dealing with:
- Out-of-square frames: You may need to cut roofing sheets at angles to fit.
- Non-standard rafter spacing: Polycarbonate and metal sheets require specific support spacing (purlins). You will almost certainly need to install new battens or purlins across your existing rafters to meet the manufacturer’s specifications.
Best Roofing Materials for NZ Conditions
Choosing the right material is a balance between light transmission, heat reduction, and durability. In the New Zealand market, three primary options dominate outdoor living structures.
1. Polycarbonate Roofing
This is the most popular choice for retrofitting because it is lightweight and allows light to filter through, keeping the adjoining room inside the house bright.
- Pros: Blocks 99.9% of UV rays (crucial for NZ sun), lightweight, easy to cut.
- Cons: Can be noisy during rain; cheaper grades can become brittle or yellow over time.
- Varieties: clear (maximum light), grey tint (glare reduction), and opal/diffused (heat reduction). Twin-wall options offer better insulation but require specific glazing bars.
2. Corrugated Colorsteel or Iron
For a more robust, architectural look, many homeowners opt to match the pergola roof with their home’s existing roofing.
- Pros: Extremely durable, matches house aesthetic, provides full shade.
- Cons: Blocks all natural light (can make adjacent rooms dark), heavier than plastic, radiates heat downwards unless insulated.

3. Retractable Canopies
While not a hard roof, retractable canvas systems are a retrofit option for those who want flexibility.
- Pros: Open sky when you want it, shade when you need it.
- Cons: Not 100% waterproof in heavy driving rain; fabric requires cleaning and maintenance to prevent mould.
The Challenge of Pitch and Drainage
The single biggest failure point in DIY pergola roofing is a lack of pitch. Open pergolas are usually built flat (level). However, a waterproof roof must slope to allow water to run off. If you install a flat roof, water will pool, causing the sheets to sag, leak, and eventually collapse.
How to Create Pitch on a Flat Pergola
To add a roof to a pergola that is currently flat, you have two main options:
- Tapered Battens: Install timber battens on top of your existing rafters that get progressively thicker towards the house (or higher side), creating a slope.
- Riser Brackets: If the pergola is attached to the house, you may need to raise the ledger board or install riser brackets to elevate one side of the roofing structure.
Minimum Pitch Requirements:
- Corrugated Iron: Typically requires a minimum of 8 degrees.
- Polycarbonate: Can often handle lower pitches, around 5 degrees (approx. 88mm fall per meter), but check the specific manufacturer’s guide.
Step-by-Step Retrofitting Process
Once you have assessed the structure and selected your materials, the installation process generally follows this workflow.
Step 1: Preparation and Framing
Clean the existing timber. If you plan to paint or stain the pergola, do it now—it is much harder to paint once the roofing is on. Install your purlins (the horizontal battens that run across the rafters). These are essential for screwing down the roofing sheets. Space them according to the roofing manufacturer’s load span tables (usually 600mm to 900mm apart).
Step 2: Installing Flashings
If your pergola is attached to the house, you cannot simply butt the roofing up against the wall. You must install a back flashing (apron flashing) tucked under the house cladding or lead flashing to prevent water from running down the wall and onto your patio.
Step 3: Laying the Sheets
Start from the end furthest from the prevailing wind. Lay the first sheet and ensure it is perfectly square to the gutter end. Screw through the “crests” (the high points) of the corrugations, not the valleys. This prevents water from leaking through the screw holes.
Step 4: Gutters and Downpipes
Don’t forget where the water goes. You will need to install a gutter system at the low end of the roof. This can be connected to a stormwater drain or directed into a garden bed or rain barrel, provided it complies with local council regulations.
Cost of Retrofit vs. New Build
Is it cheaper to retrofit or build new? Generally, retrofitting is significantly cheaper, but costs can spiral if the existing structure needs major reinforcement.
Estimated Retrofit Costs (NZD):
- Materials (Polycarbonate + Timber Purlins): $80 – $150 per square meter.
- Labor (Professional Builder): $600 – $1,200 per day.
- Total for average 15sqm pergola: $2,500 – $4,500.
Estimated New Build Costs:
- Custom Timber Pergola with Roof: $400 – $800+ per square meter.
- Total for average 15sqm structure: $6,000 – $12,000+.
If your existing posts are rotting or the design is structurally unsound, a new build is often the safer and more cost-effective long-term investment.
Building Consents and DIY Rules
In New Zealand, building work is governed by the Building Act. Fortunately, recent changes to Schedule 1 of the Building Act have made it easier for homeowners to add structures without consent, provided specific criteria are met.
Do you need a consent?
Generally, you do not need a building consent to add a roof to a pergola if:
- The structure is on the ground floor.
- The total size is under 20 square meters (or 30 square meters if built by a Licensed Building Practitioner or using lightweight materials in accordance with specific standards).
- The roof water does not cause a nuisance to neighbors.
- The structure complies with district planning rules (e.g., boundary setbacks and site coverage ratios).
Note: Even if a consent is not required, all work must still comply with the NZ Building Code. If in doubt, always call your local council or consult a professional.
Frequently Asked Questions
Can you put a roof on a pergola without a pitch?
No, you cannot put a waterproof roof on a pergola without a pitch. While the pergola frame itself may be flat, you must create a slope using tapered battens or riser brackets. A minimum fall of 5 degrees is recommended for polycarbonate and most metal roofing to ensure water drains off and doesn’t pool, which leads to leaks and damage.
How much does it cost to put a roof on a pergola NZ?
In New Zealand, retrofitting a roof to an existing pergola typically costs between $150 and $300 per square meter for materials and labor. For a standard 3m x 4m pergola, expect to pay between $2,000 and $4,000 depending on whether you choose premium polycarbonate or standard corrugated iron and if you hire a professional.
What is the best roof for a flat pergola?
Polycarbonate is often the best choice for flat pergolas because it is lightweight and comes in profiles designed to handle lower pitches (though some slope is still required). Twin-wall polycarbonate is particularly good as it is rigid and offers insulation. However, standing seam metal roofing is also excellent for low-pitch situations if installed correctly.
Does a pergola roof need planning permission?
In NZ, adding a roof to a pergola often falls under ‘Schedule 1’ exemptions. If the structure is under 20 square meters, on the ground level, and meets boundary setback rules, you usually do not need a building consent. However, you must always check your local council’s District Plan regarding site coverage and shading planes.
How do you attach a roof to a wooden pergola?
To attach a roof, you first install horizontal purlins (battens) across the existing rafters to create a grid. Roofing sheets are then laid over these purlins and secured using specific roofing screws that have rubber washers to seal the holes. Screws should always go through the crest (top) of the corrugation to prevent leaks.
Can a pergola support a roof?
Not always. Open pergolas are designed for minimal weight. Before adding a roof, check that the posts are sound (no rot) and the beams are thick enough to prevent sagging. You may need to add diagonal bracing to prevent the structure from wobbling under wind loads, as a solid roof catches much more wind than an open frame.